BUSINESS OWNER GUIDE
How to manage your business
One Click Verify is a digital verification tool, that assists you to meet your FSC KYC / AML & CTF compliance and regulatory obligations as part of a digital onboarding process which can integrate with iress Xplan to provide a One Click solution.

CONTENTS
Register Business
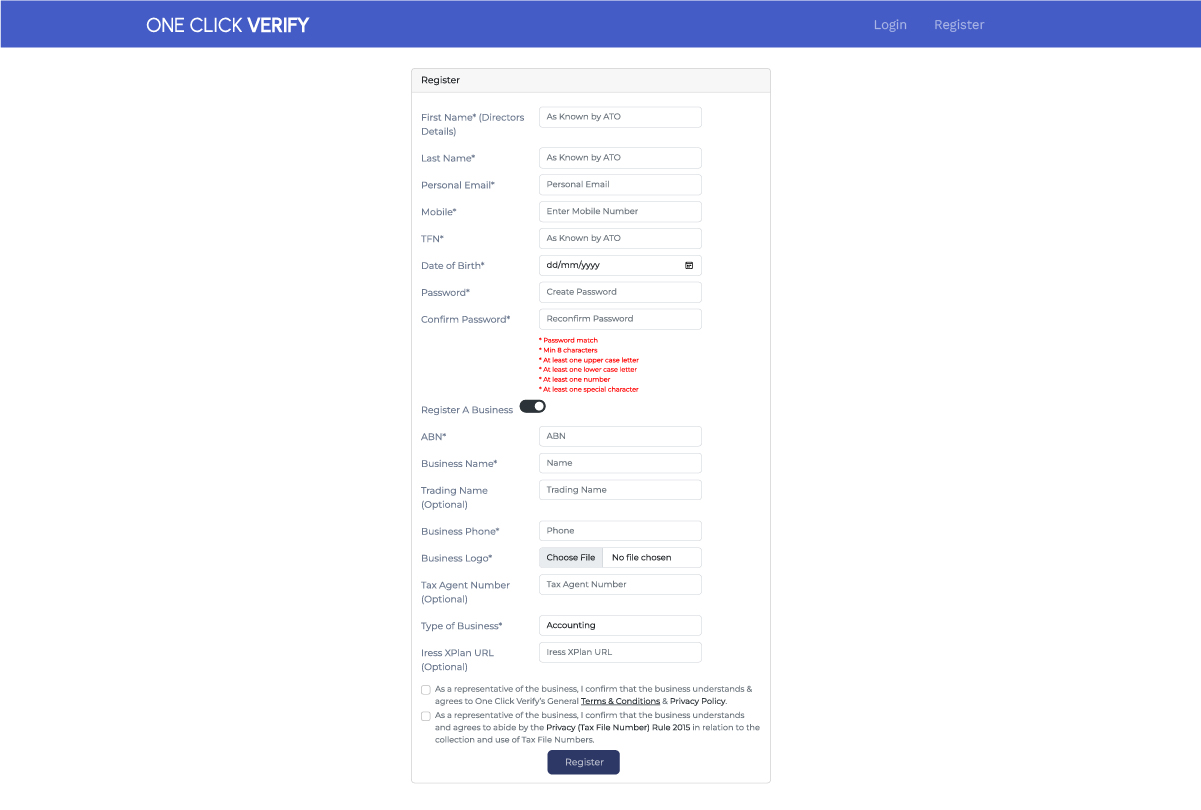
To register a business or organisation with One Click Verify, you must first register as a natural person who is a legally authorised representative of the business or organisation.
Once the registration of the business or organisation has been completed, One Click Verify will conduct a thorough review of the information provided and perform any necessary due diligence before establishing a corresponding account for the entity.
The processing time for this procedure typically spans 48 hours, contigent upon timely submission of all required documentation.
Step 1. Register a business – for Iress Xplan users you will need to login to your Xplan account and copy the URL (see below)
Step 2. Verify the legally authorised representative of the business or organisation
Step 3. Review and sign the End user application
Step 4. Select a plan
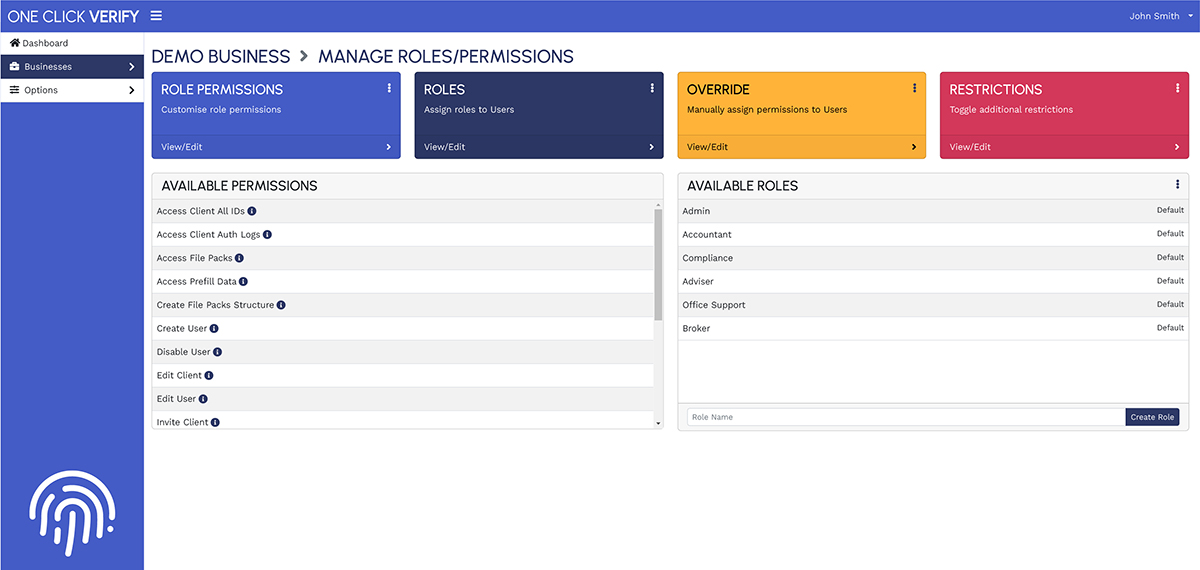
Dashboard
The system has a number of default roles that come with different permission levels. These roles can be customised and assigned by the Business Owner. Depending on the role assigned to each Business User, the level of access and editing capabilities will vary.
The assigned permissions will determine the specific section of the system that a Business User will be able to view and edit. The following is an example of a dashboard that a Business Owner would be presented with.
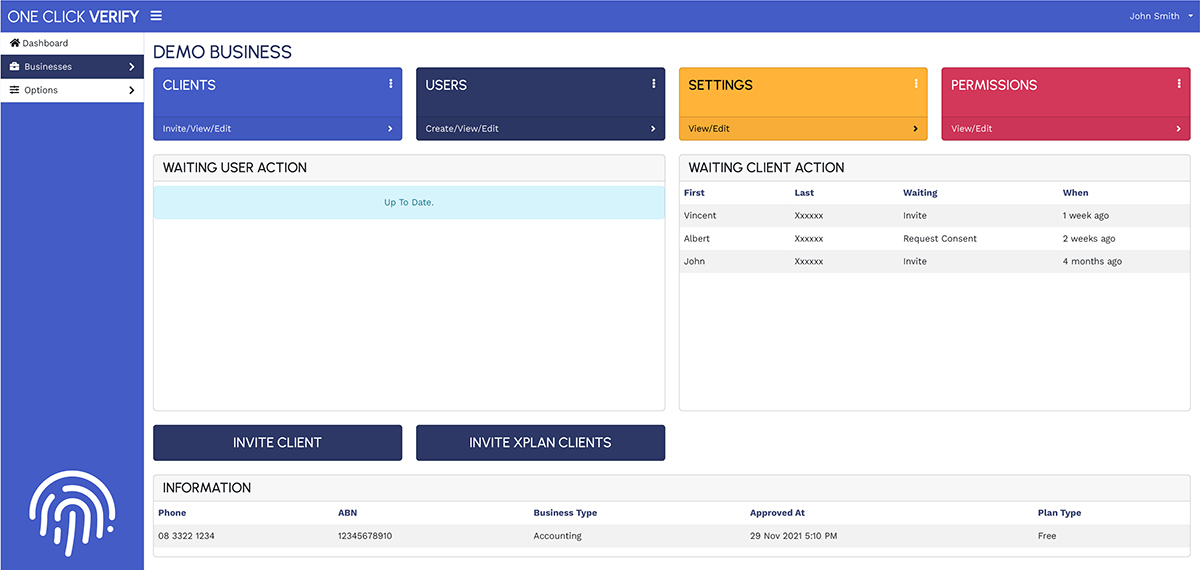
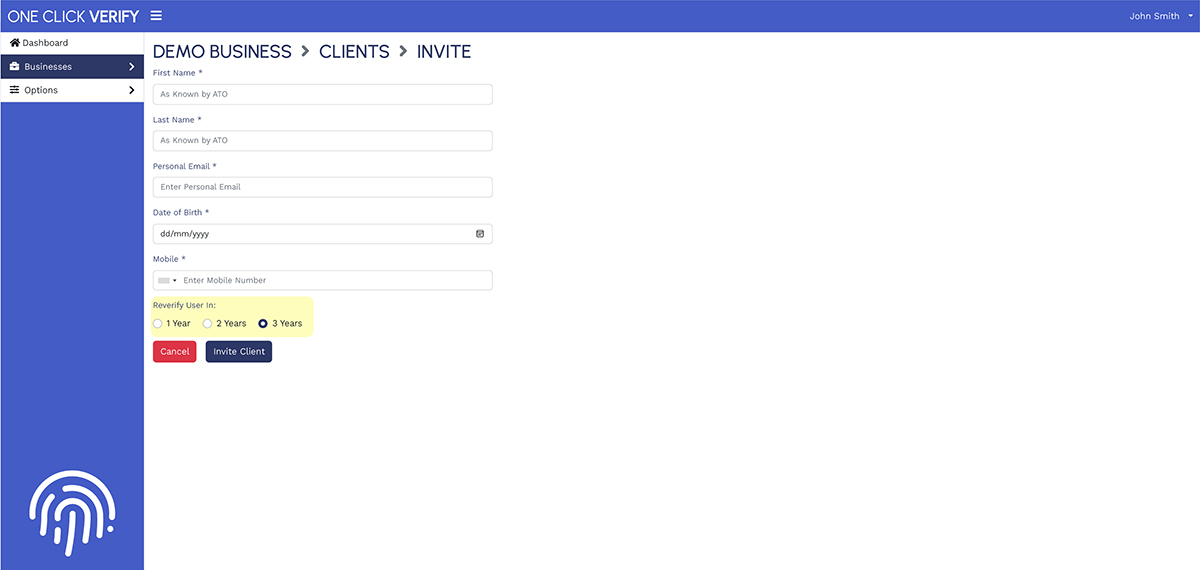
Invite Client
From here, clients can be invited and viewed.

To register an individual, enter the required information in the section as shown below. The User must enter the individual’s first and last name as known by the ATO. Once all required information has been entered, click the “CREATE USER” button to generate an invitation that initiates the verification process.
Enter the required information as shown below to register an individual. A User must enter the individual’s first and last name as known by the ATO.
A personal email is preferred and must be unique to One Click Verify, much like MyGovID, as it is portable. For security reasons, only one client can be associated with each email address or mobile number.
Once all required information has been entered, click the “INVITE CLIENT” button to initiate the verification process.
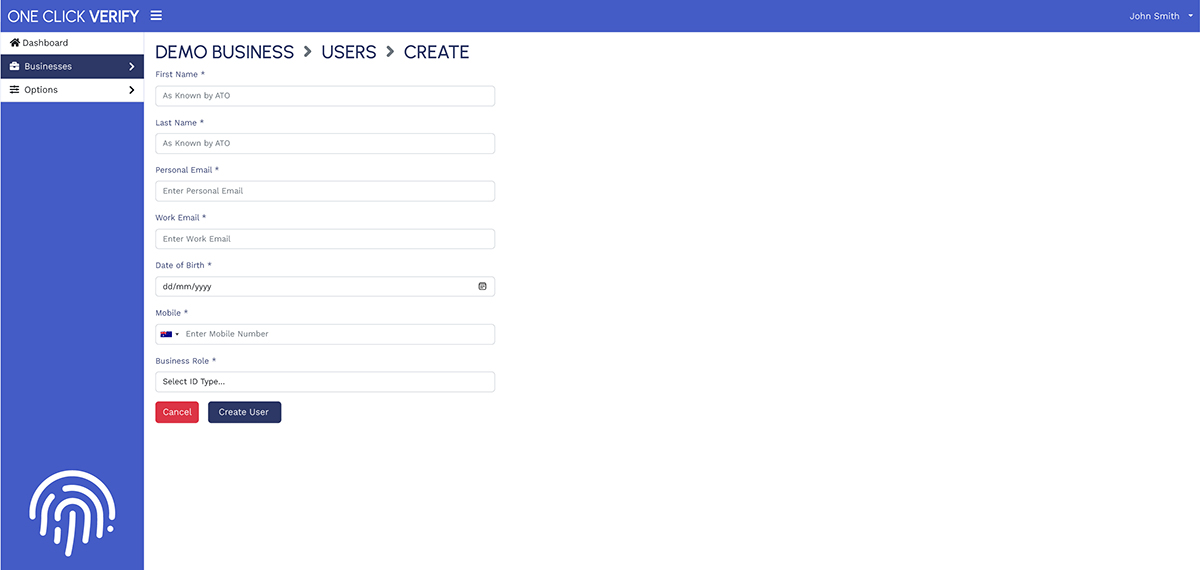
Invite Business User
From here, Business Users can be created and viewed.

To register an individual, enter the required information in the section as shown below. The User must enter the individual’s first and last name as known by the ATO.
Once all required information has been entered, click the “CREATE USER” button to generate an invitation that initiates the verification process.
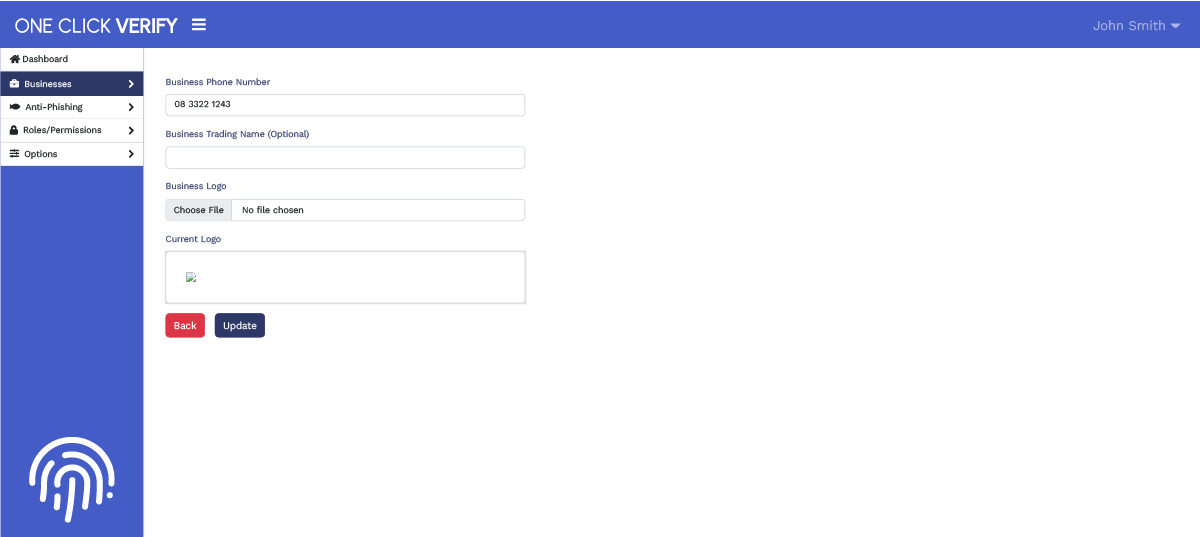
Settings
From here, the business details can be updated, including the logo that is used in correspondence with clients.

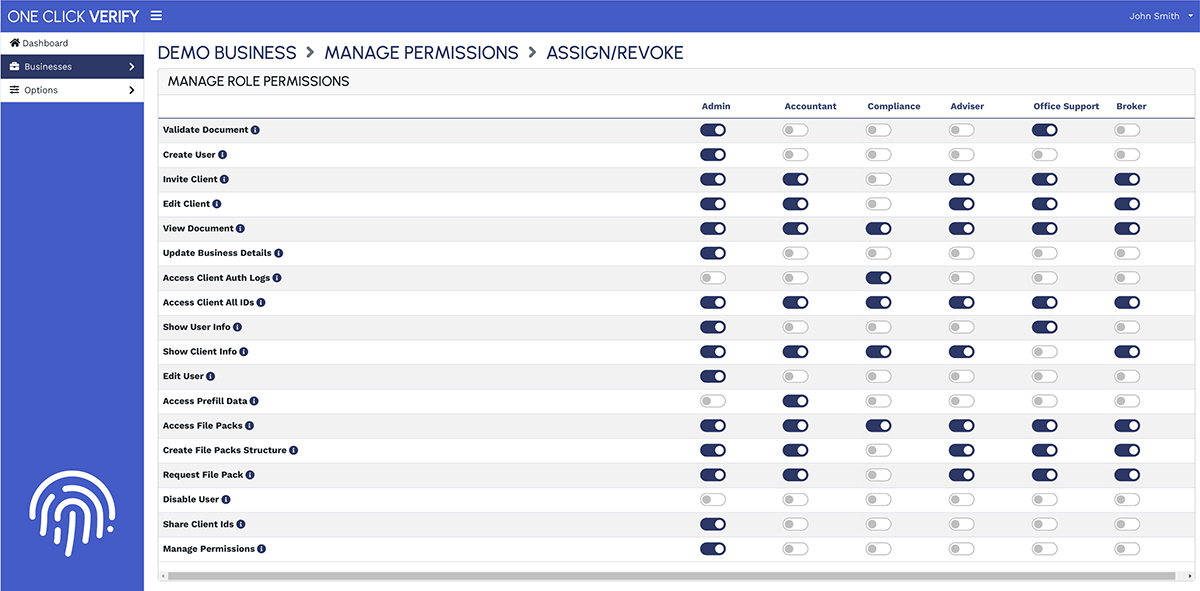
Permissions
From here, Business Owner can customise and toggle additional restrictions to different Users.
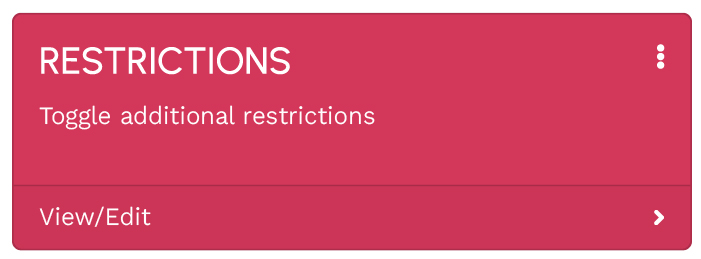
By selecting “VIEW/EDIT” button, you will be redirected to a page where you can manage permissions and roles for each User as shown below.
Once approved for the One Click Verify system, Business Owners are able to allocate varying levels of authorisation to other Users in accordance with their designated role, as demonstrated in the following:
How To Share ID
To share an individual’s ID, select the respective individual from the Client or User list. After selecting the individual, you will be directed to their validation timeline, as demonstrated below. Click on “Share ID” button to share their ID.

Following on from that, you will be prompted to provide the recipient’s email address and the reason for sharing the individual’s ID, as shown below.

The individual will then receive an email notification asking for their consent, as demonstrated below.

Once consent has been provided, the recipient would receive the shared document via email as exemplified below.

The recipient would also receive additional information together with the shared document, as demonstrated below.

Register With Iress Xplan
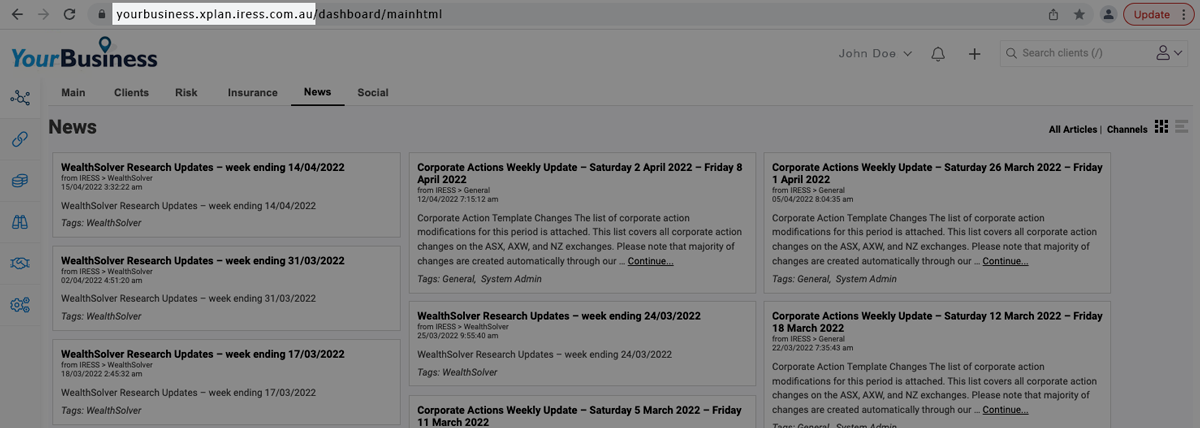
From Xplan, search for “Open”.
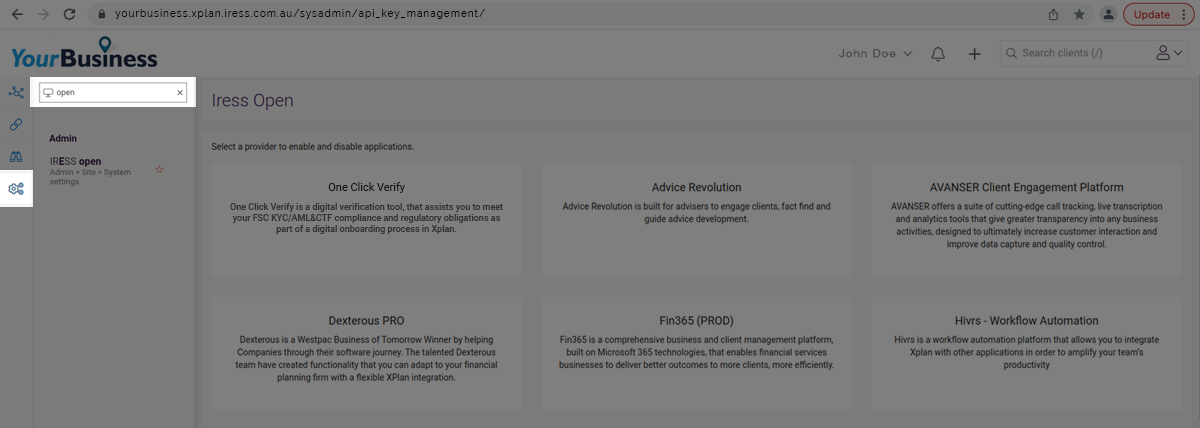
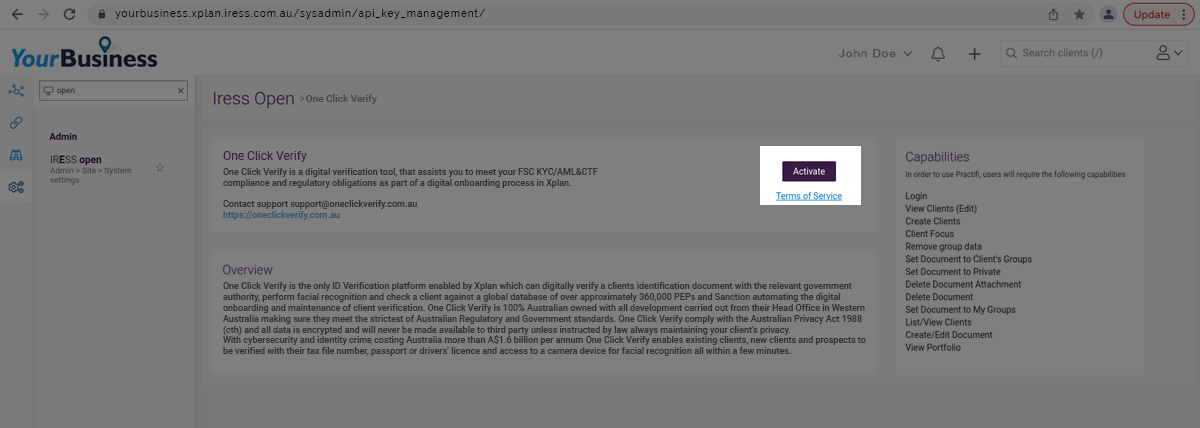
Click “IRESS Open” and then “One Click Verify”.
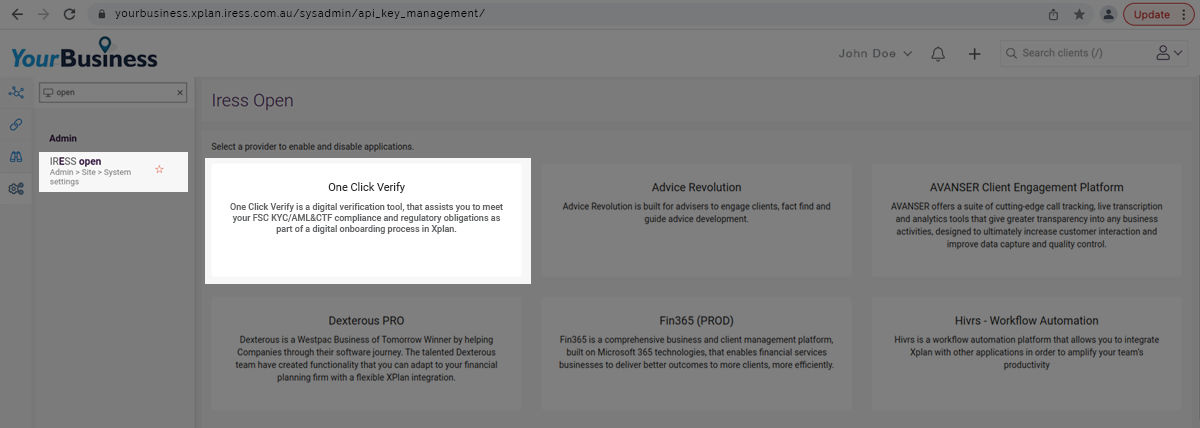
Click “Activate” to complete integration.
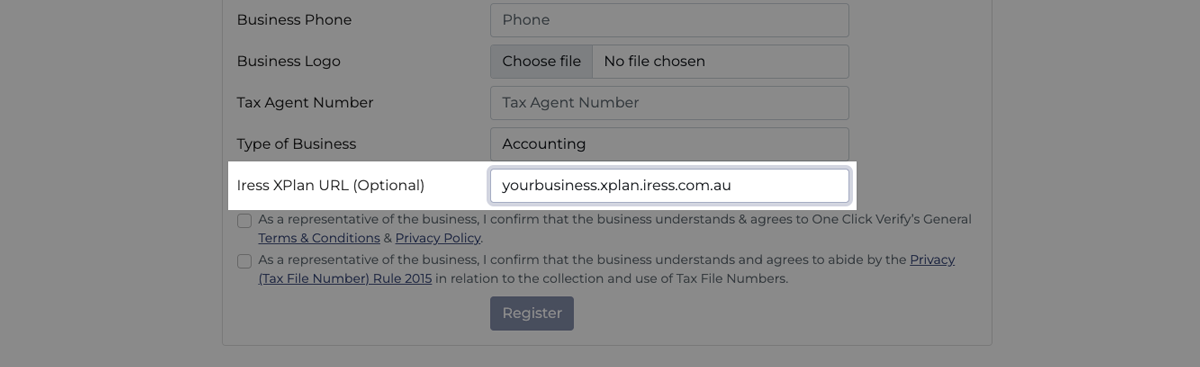
Similar to the steps outlined to add a business or organisation, the Iress Xplan integration requires one additional step. When you login to One Click Verify you will need to copy the URL.
When registering via One Click Verify as a business, paste the URL as shown in the following: