BUSINESS USEr guide
How to Verify your clients
One Click Verify is a digital verification solution – assisting you in meeting your KYC / AML & CTF compliance and regulatory obligations, as part of a digital onboarding process – this can integrate with Iress Xplan to provide a One Click solution.
Login Process
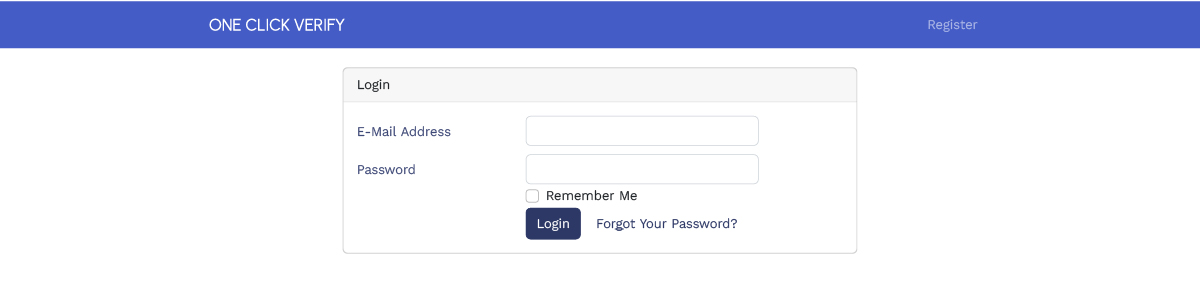
After completing the registration of your One Click Verify account you will need to login using your email and password previously set up during registration.
Multi-factor Authentication
To provide the highest standard of security, to protect you and your client, One Click Verify will require both verification codes from your email and registered mobile number.
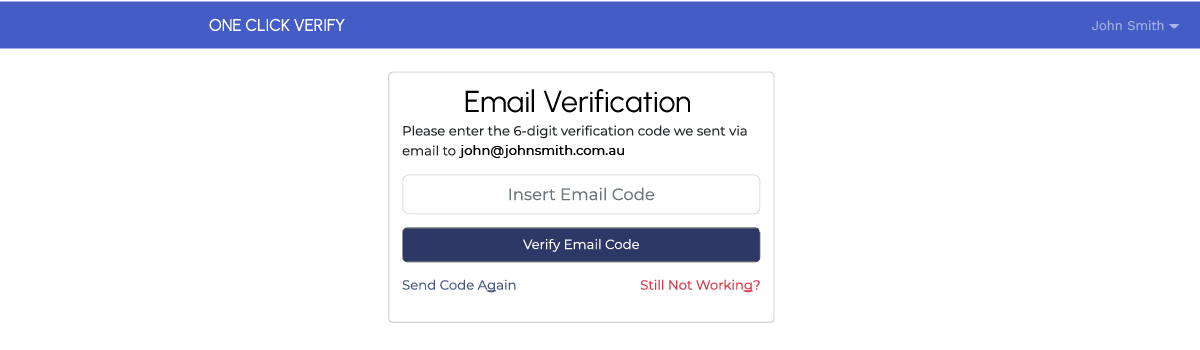
Depending on your email service provider you may need to check your Junk or Spam folders and create a rule to not block the @oneclickverify.com.au emails in the future.
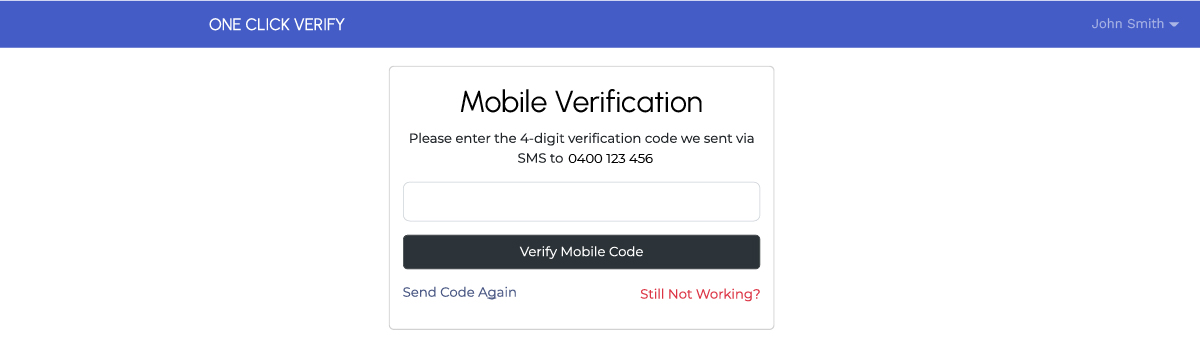
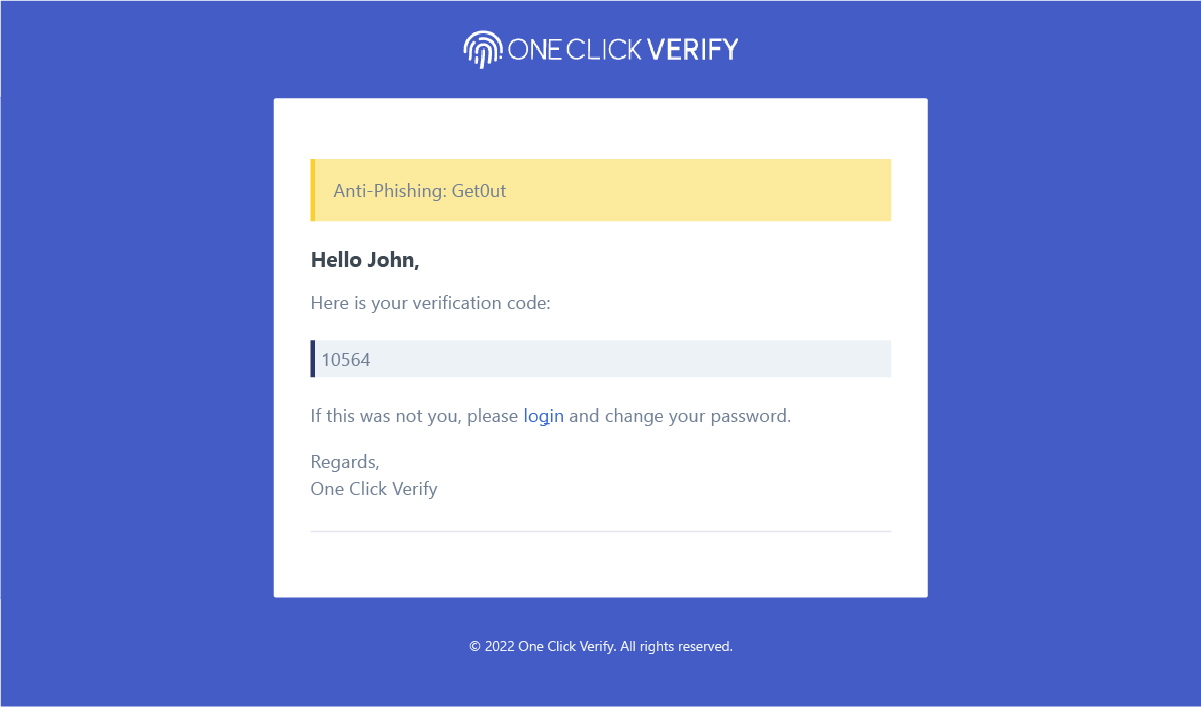
Once email verification has been completed you will receive a verification code via your registered mobile number.
If you have changed your mobile number and not updated your One Click Verify profile you will need to contact one of your business administrators to update your details or perform an account recovery.
Dashboard
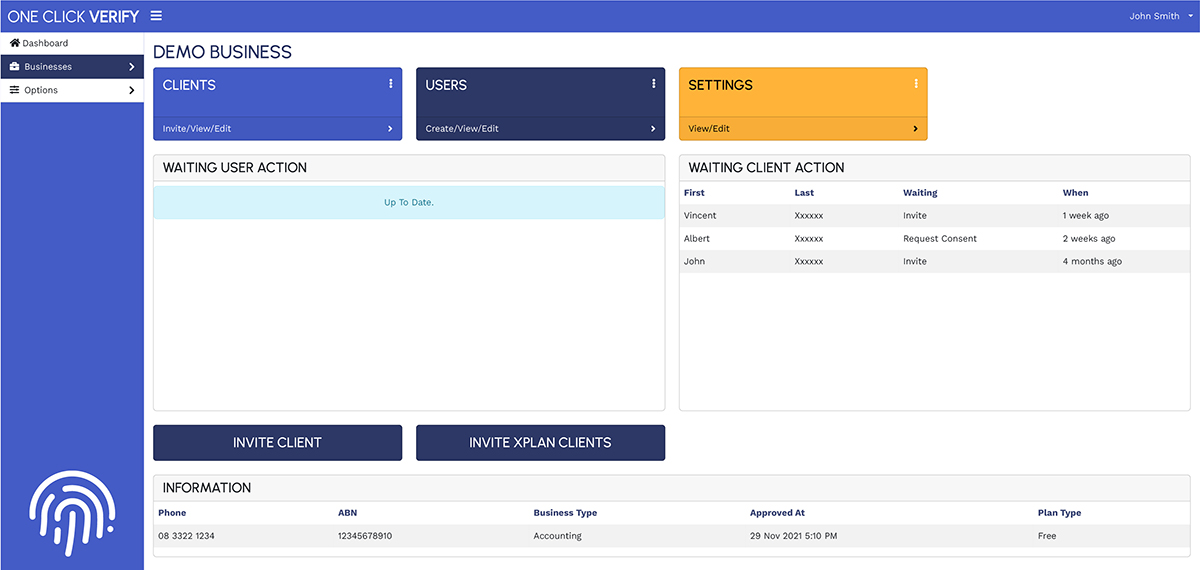
The system has a number of default roles with varying permissions. These roles will be customised & assigned by the Business Owner. Depending on what role is assigned to each Business User, the level of access & editing capabilities will differ.
These permissions will determine which sections a User will be able to view and edit.
Please refer to the example below, which depicts a typical dashboard that would be presented to a Business User.
How to Get Started
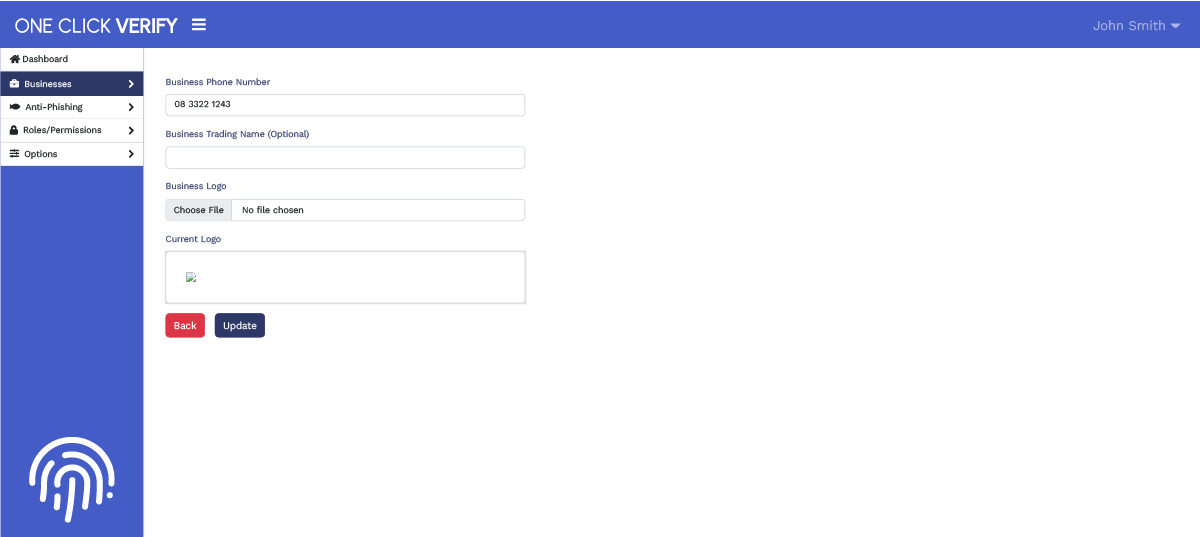
SETTINGS
From here, the business details can be updated, including the logo that is used in correspondence with clients.
INVITE BUSINESS USER
From here, Business Users can be created and viewed.

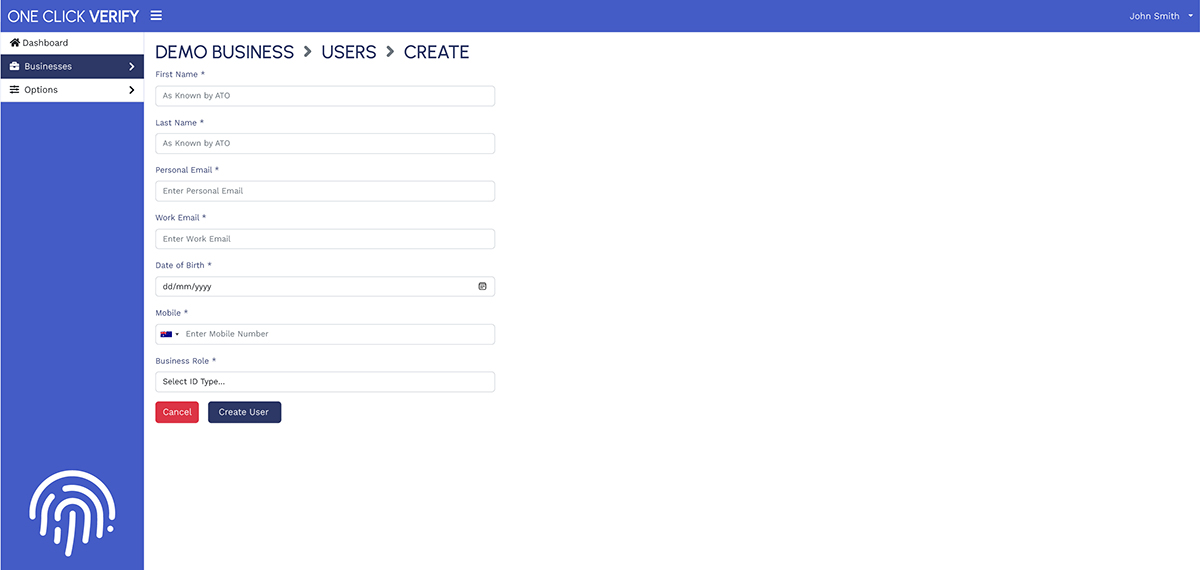
To register an individual, enter the required information in the section as shown below. The User must enter the individual’s first and last name as known by the ATO.
After entering all necessary information, click on the “CREATE USER” button, as indicated below. This will generate an invitation that initiates the verification process.
INVITE CLIENT
From here, Users can invite and view clients.

To register an individual, click on “Invite/View/Edit” on the dashboard. Then, on the following page click the “INVITE” button at the top and follow the prompts.
Enter the required information in the section as shown below to register an individual. A User must enter the individual’s first and last name as known by the ATO.
A personal email is preferred and must be unique to One Click Verify, much like MyGovID, as it is portable. For security reasons, only one client can be associated with each email address or mobile number.
Once all required information has been entered, click the “INVITE CLIENT” button to initiate the verification process.
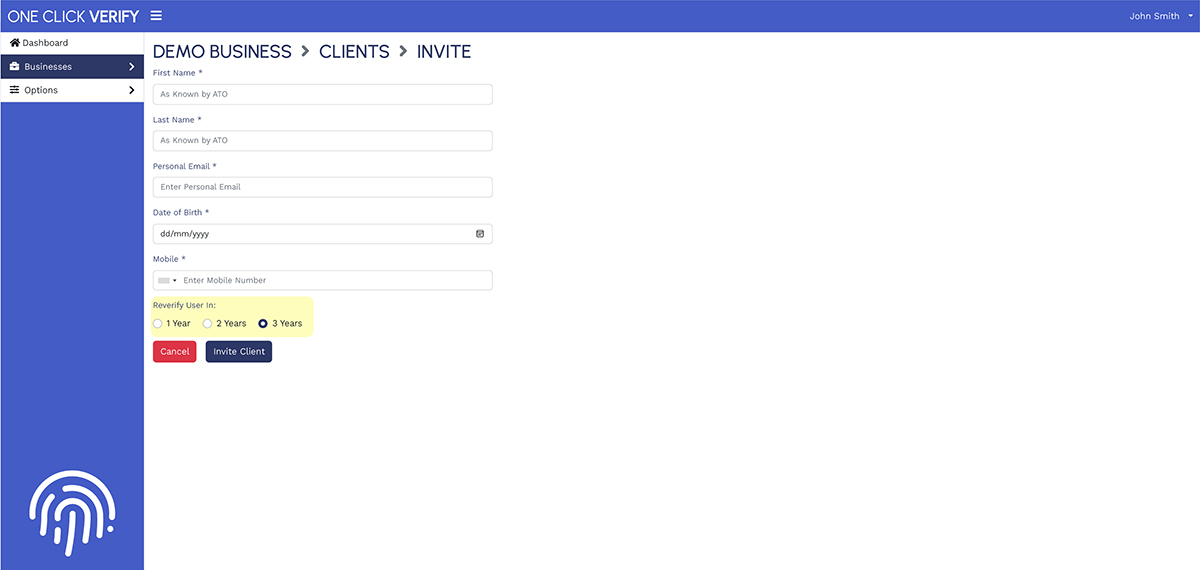
Note : In general, Users may select to reverify the client every 3 years. If the client is deemed to be a high-risk client, then Users may select to reverify them in 1 year. This just requires the client to go through the full process again. Additionally, if the client’s ID expires in 2 years’ time, the system will only allow Users to reverify the client in 2 years. (see highlighted section above)
Edit Client
Once a client validates their email and mobile the User will not be able to update the client’s details. Their details will be locked to their account for security. Once the client is verified, they can update their details themselves within their own One Click Verify dashboard.
If a User has sent an invite to a client and needs to update contact information such as mobile or email, the User can update this by clicking on the “EDIT CLIENT” button.
Validation Status
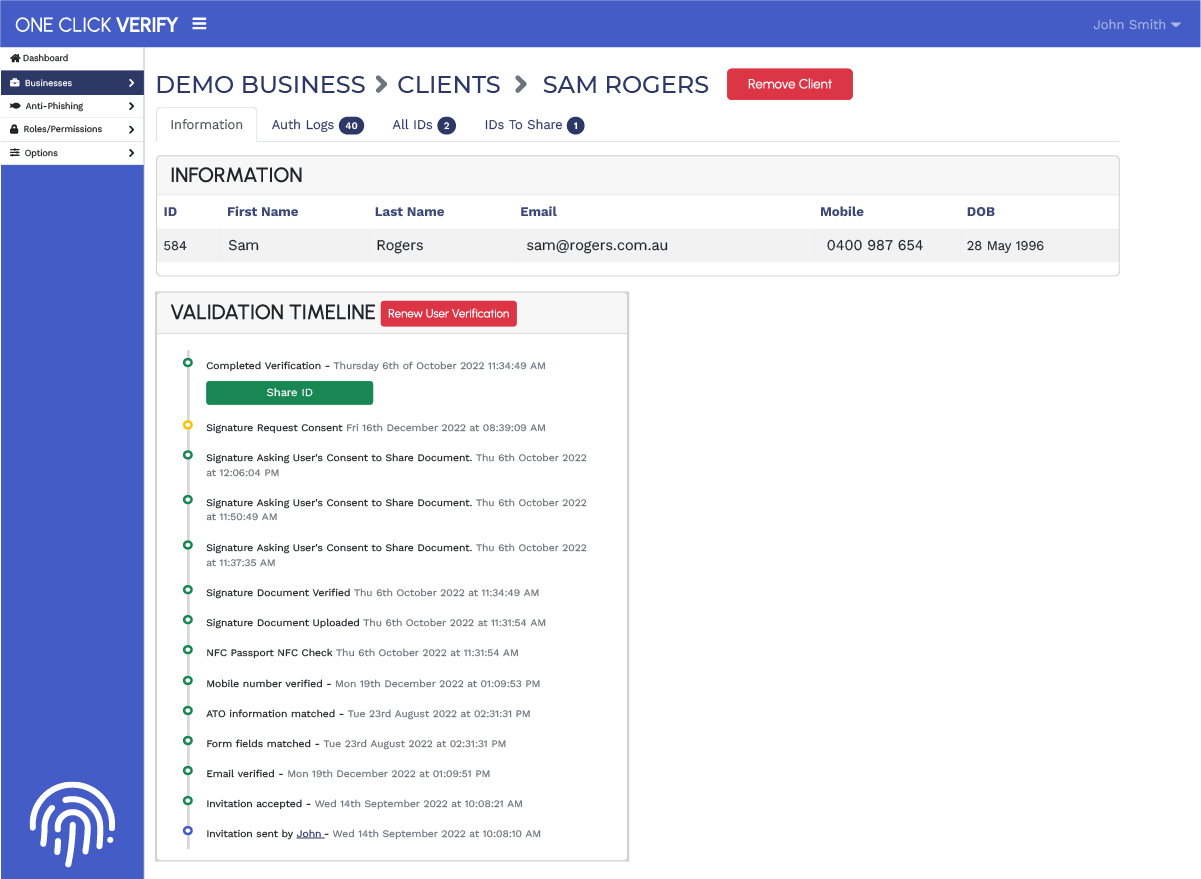
To check the status of client’s validation, click on their name to view their validation timeline.
If the client doesn’t complete all the verification steps, they will be sent an automatic email to notify them every 3 days of outstanding steps.
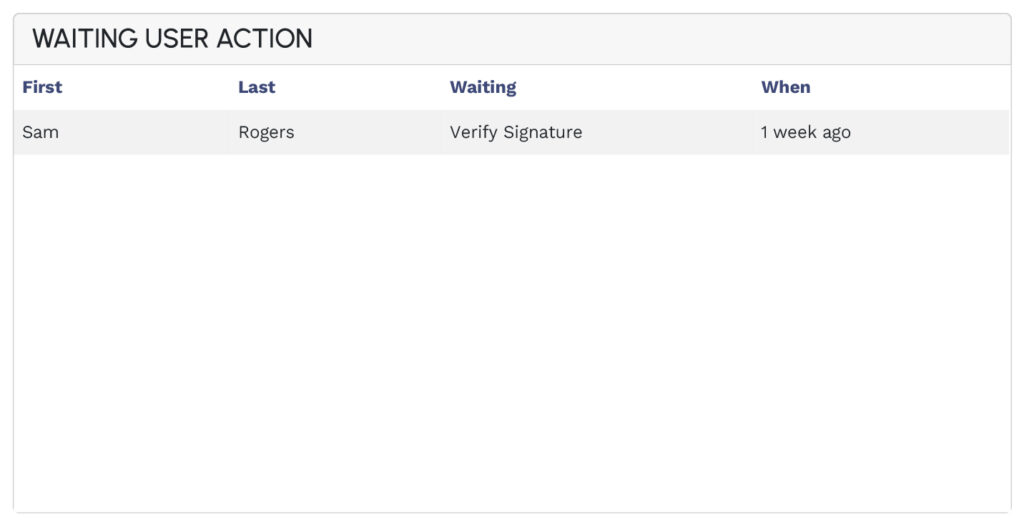
WAITING USER ACTION
If the User or Business Owner has an outstanding task that requires action, it will appear in the section below:
Client Pending ID Check
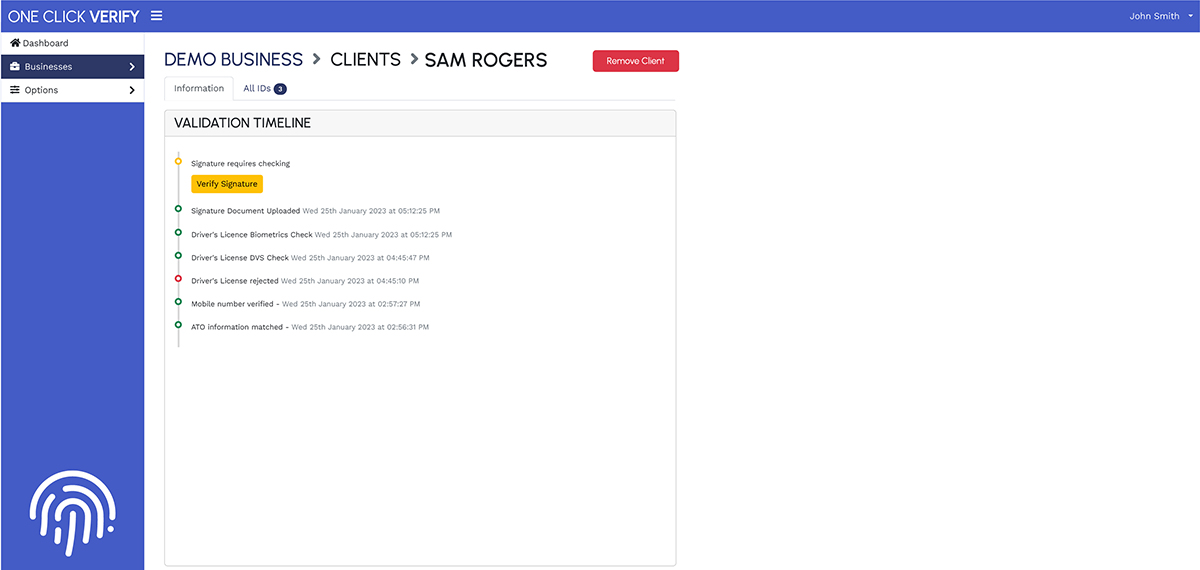
Once a client has uploaded their identification, Business Owner or Users will be notified via email that the client’s signature needs to be verified. Clicking on the client’s name will lead to the Validation Timeline page where the client’s proof of identification or signature can be viewed and verified.
Validate Documents
Click ‘Verify Signature’ on validation timeline
Common issues users are presented with are:
- Name doesn’t match the name set up in the invitation – this is common with clients that are registered by different names with many government agencies such as Johnathan being registered as John or varying between married name and maiden name.
- Email address or mobile not matching the email or mobile set up in the initial invitation – if they wish to change this, they will have to contact the business to update and resend the invitation.
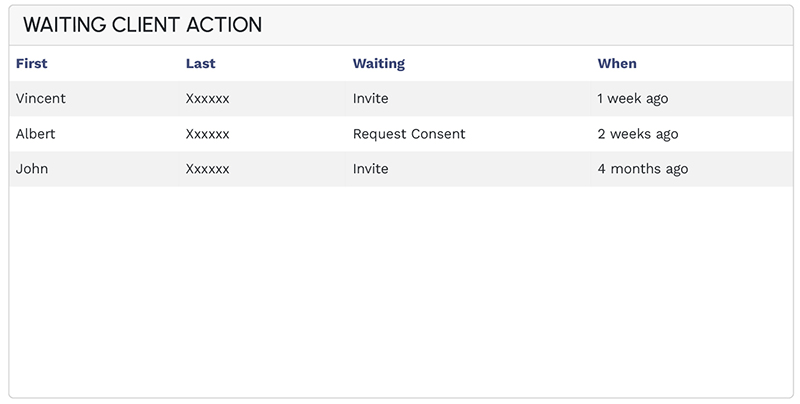
WAITING CLIENT ACTION
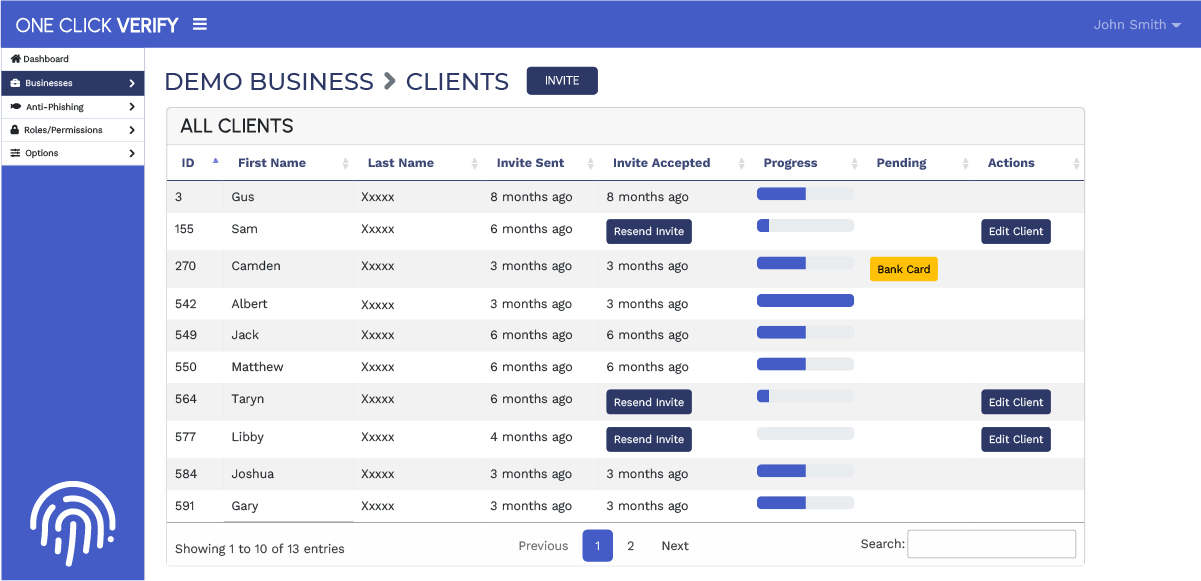
Once a client has been invited, Users will be able to see when the invite was sent, whether the invitation has been accepted and what stage the verification process is at, etc. If the client has an outstanding task that requires action, it will appear in the section below:
The client would receive an invite via email and will be guided through the process to complete the verification.
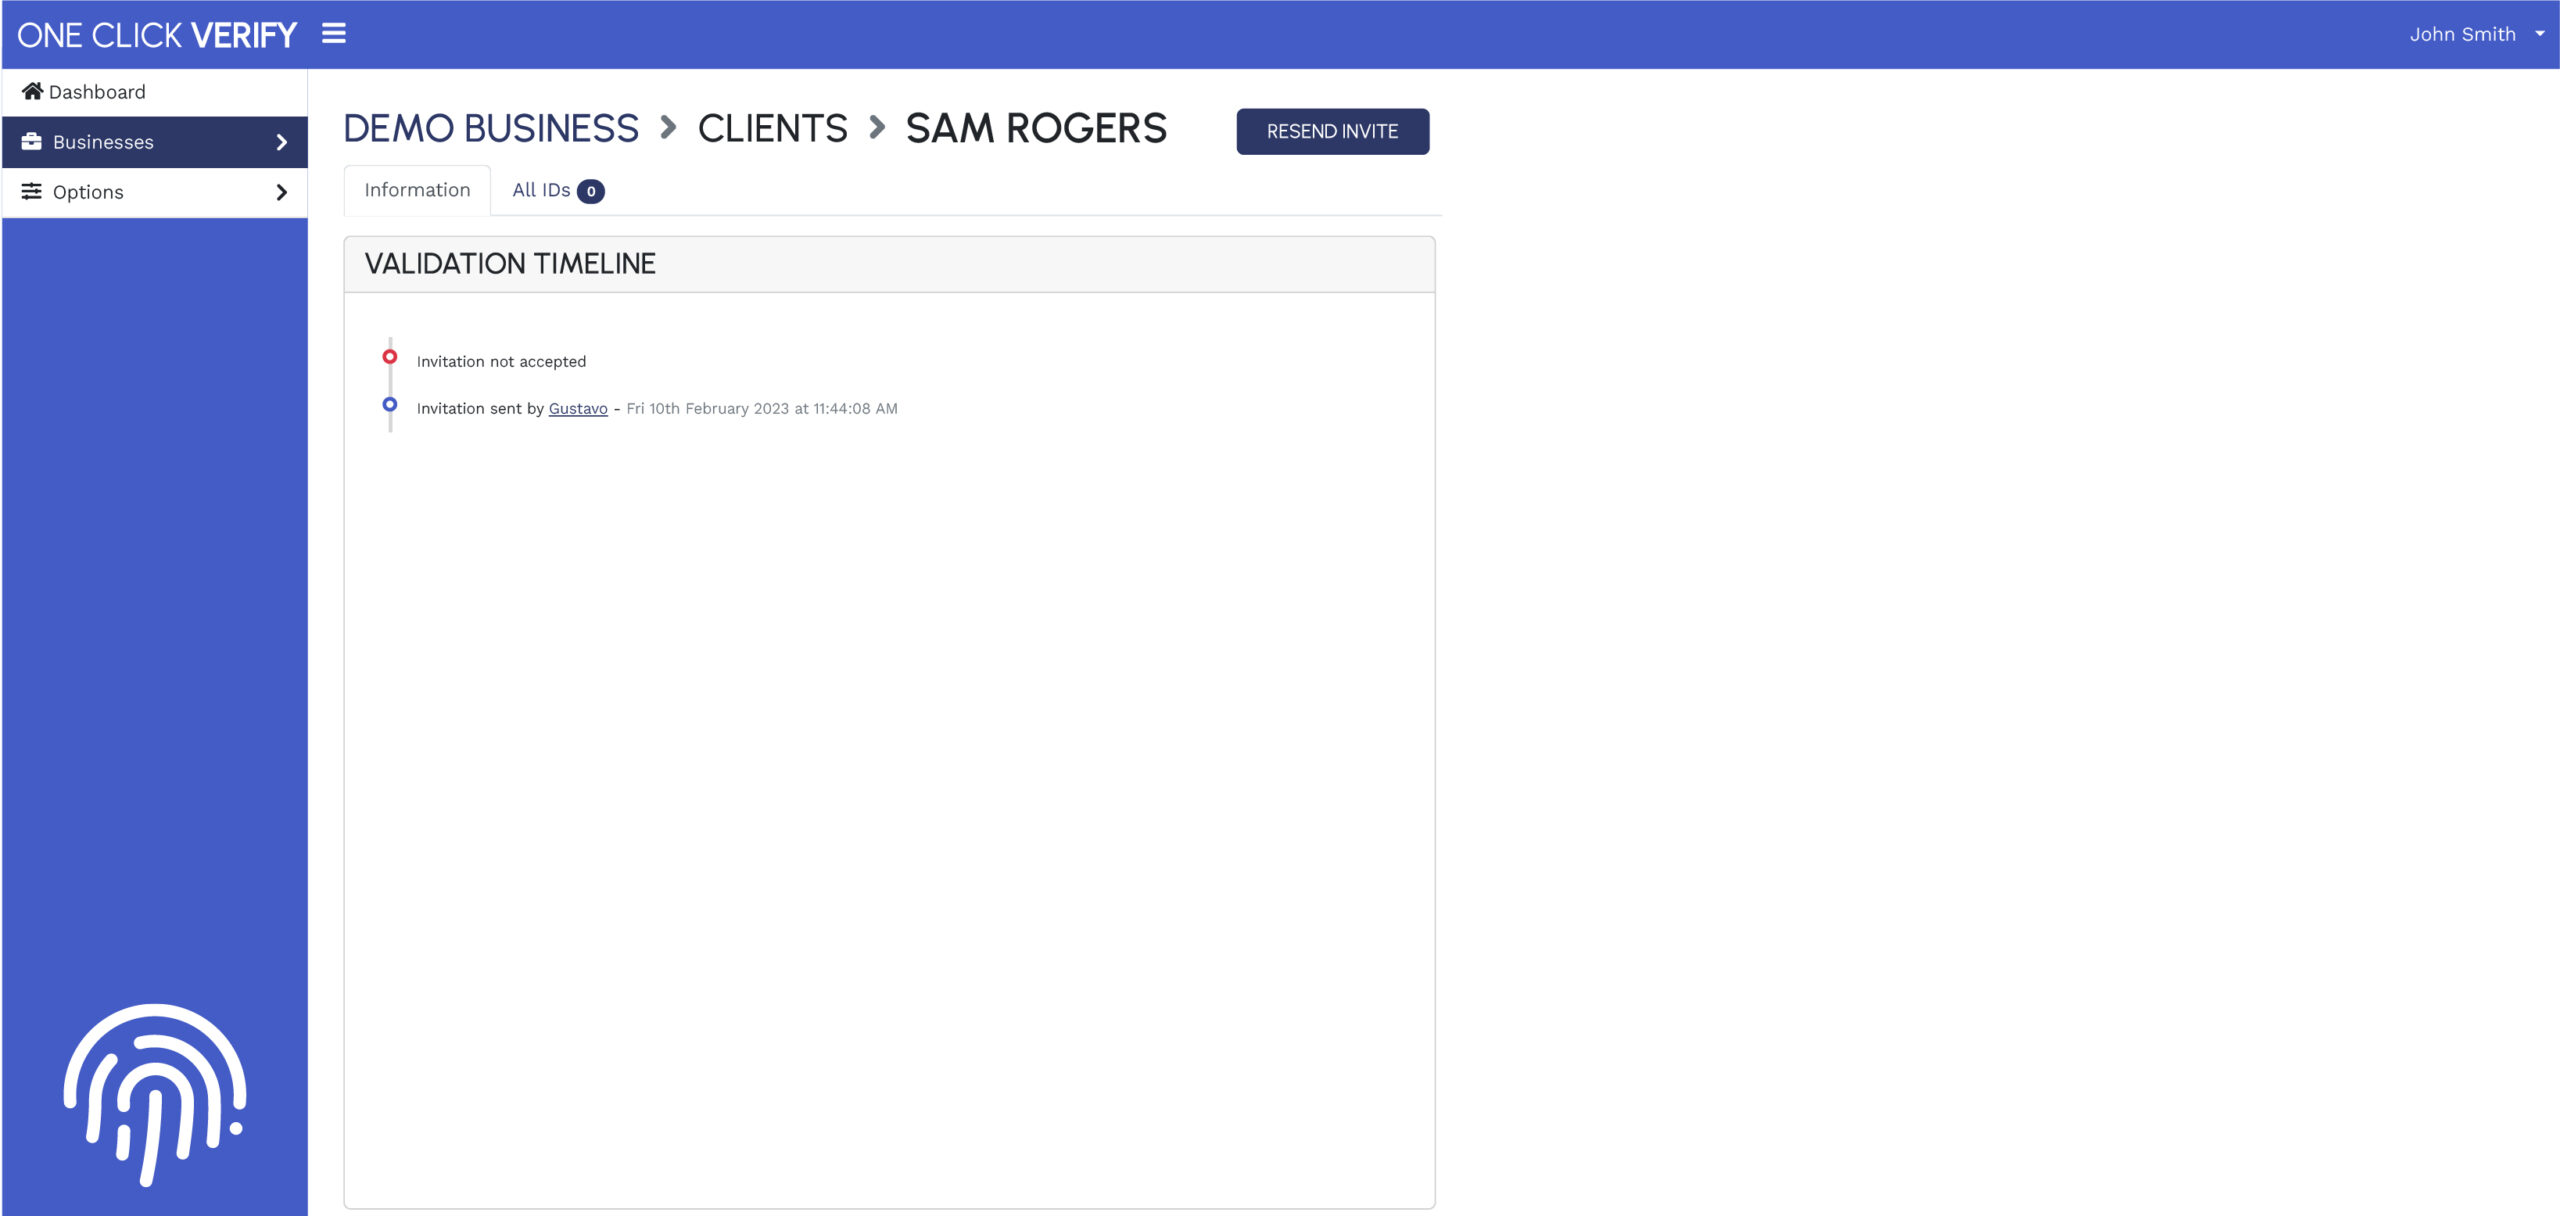
Resend Invite
If the client has not accepted the invitation, it can be resent via the “RESEND INVITE” button on the Validation Timeline page.
How To Share ID
To share an individual’s ID, select the respective individual from the Client or User list. After selecting the individual, you will be directed to their validation timeline, as demonstrated below. Click on “Share ID” button to share their ID.

Following on from that, you will be prompted to provide the recipient’s email address and the reason for sharing the individual’s ID, as shown below.

The individual will then receive an email notification asking for their consent, as demonstrated below.

Once consent has been provided, the recipient would receive the shared document via email as exemplified below.

The recipient would also receive additional information together with the shared document, as demonstrated below.

Common Issues
Common issues clients are presented with are:
- Name doesn’t match the name set up in the invitation – this is common with clients that are registered by different names with many government agencies such as Jonathan being registered as John or varying between married name and maiden name.
- Email address or mobile not matching the email or mobile set up in the initial invitation – if they wish to change this, they will have to contact the business to update and resend the invitation.
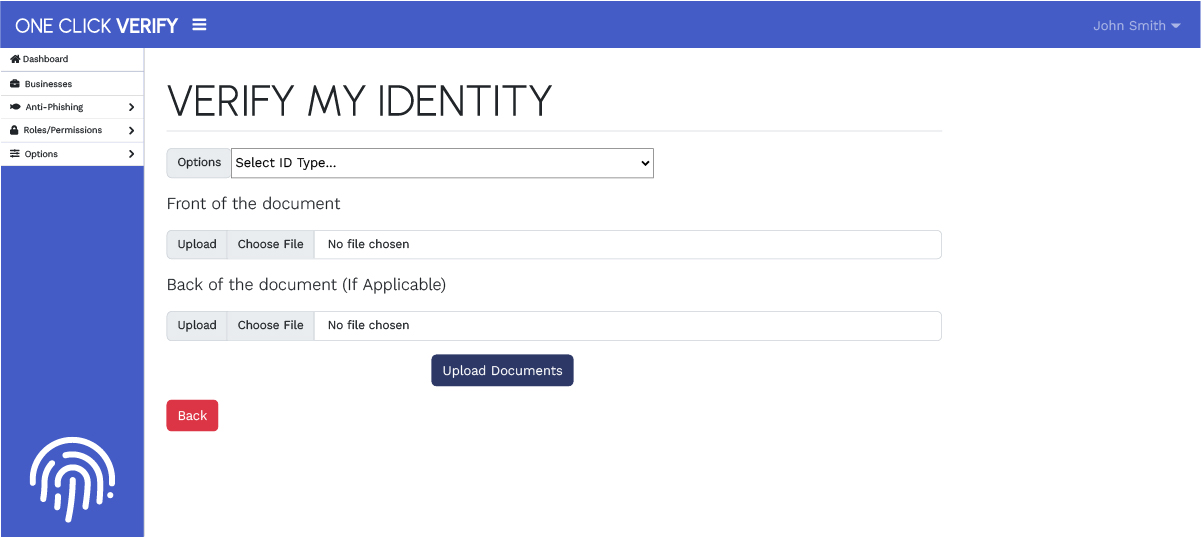
Client Failed Document Verification Check
If a client is unable to pass primary ID verification for whatever reason, they are able to upload supporting documents to be manually verified. Note: the file format must be png or jpg and less then 5mb each.
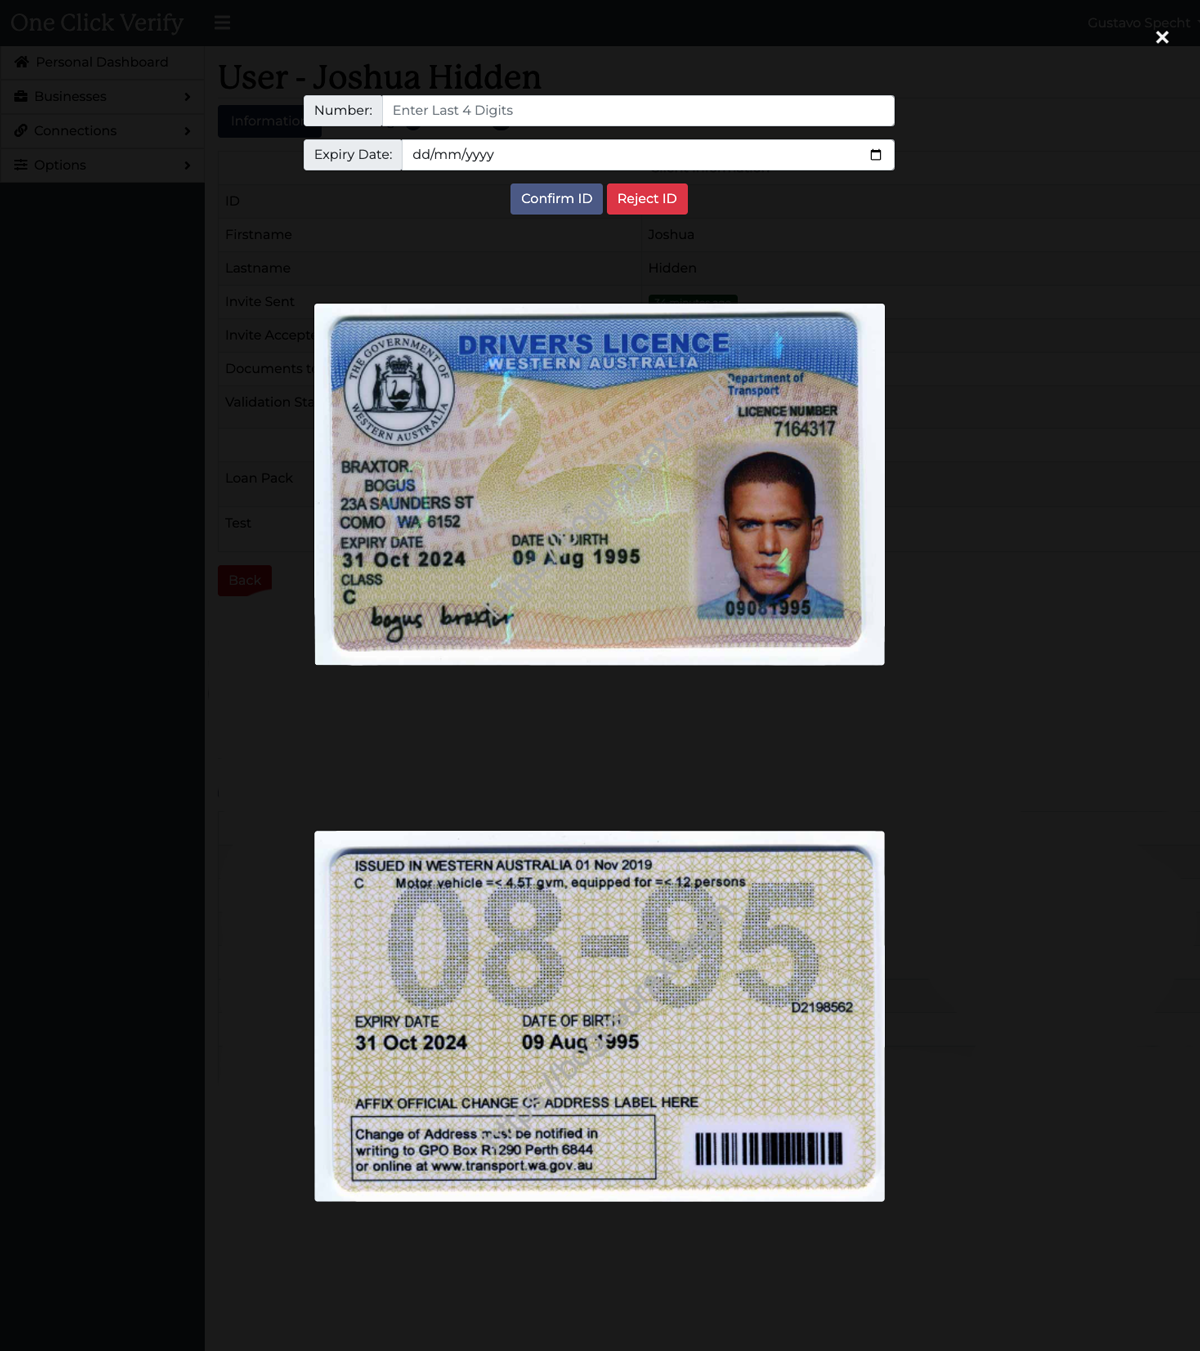
Confirm Client Documents
Biometrics has been calibrated to detect anomalies to a likeness ratio to minimise fraud.
To ensure the document has been sighted and verified by a Business Owner or User, the last 4 digits of the document must be entered along with the expiry date. If the document is ineligible, the User can also reject the ID which will send a request to the client to perform the check again.
User Information
One Click Verify is a fully auditable system for regulation and compliance with information stored for several years. Once the User is in the client’s profile the User is able to view or recall information while the One Click Verify subscription is active.
Xplan Integration
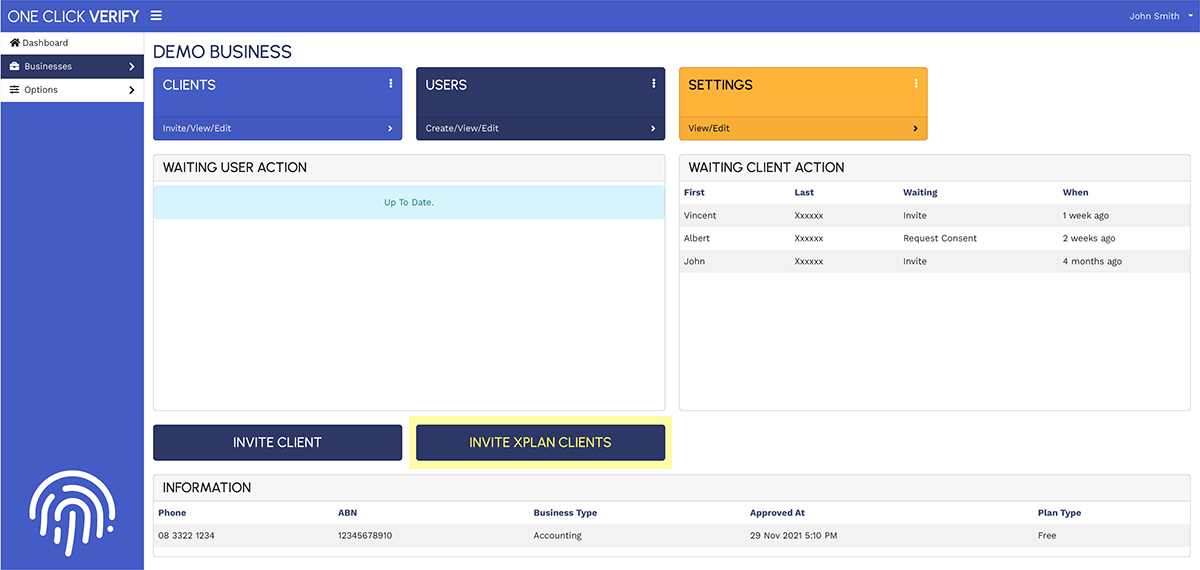
If Iress Xplan is enabled the business can search and invite clients via the Iress Xplan Integration.
Click Invite Xplan Clients
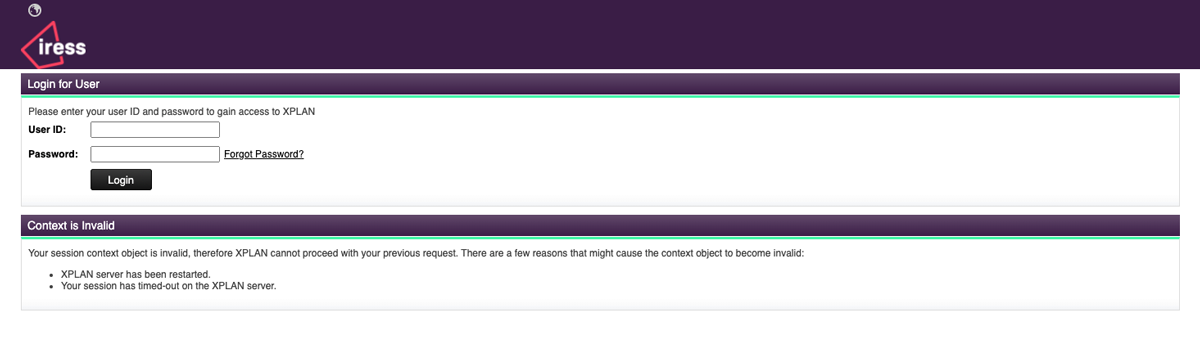
Login to Xplan via Iress
When Users click the link, they will be prompted to login to Iress Xplan.
Allow Access
Once connected Users can allow One Click Verify to access the clients to invite.

Xplan User Details
One Click Verify is as only as good as the data within the Iress Xplan. Some clients have a preferred name instead of their legal name recorded in both fields – Users will have to update the Iress Xplan CRM to reflect the preferences so we can cross-reference government databases.
Although we support common variations of names e.g. Greg and Gregory being one in the same, there are often circumstances where more non-traditional names will require Users to speak directly to the client and ask how they are known by the ATO, as this is often the better source of truth.